Installing Vertical Wood Siding A DIY Guide
Installing vertical wood siding transforms your home’s exterior, adding curb appeal and lasting value. This guide walks you through the entire process, from initial planning and material selection to the final finishing touches and ongoing maintenance. We’ll cover everything from choosing the right siding profile and fastening methods to troubleshooting common issues and ensuring a watertight, long-lasting installation. Get ready to upgrade your home’s exterior with this comprehensive, step-by-step approach!
Whether you’re a seasoned DIYer or a weekend warrior tackling your first home improvement project, this guide provides clear instructions and helpful tips to ensure a successful installation. We’ll break down complex tasks into manageable steps, offering visual descriptions and addressing potential challenges proactively. By the end, you’ll have the confidence and knowledge to tackle your vertical wood siding project with ease and pride.
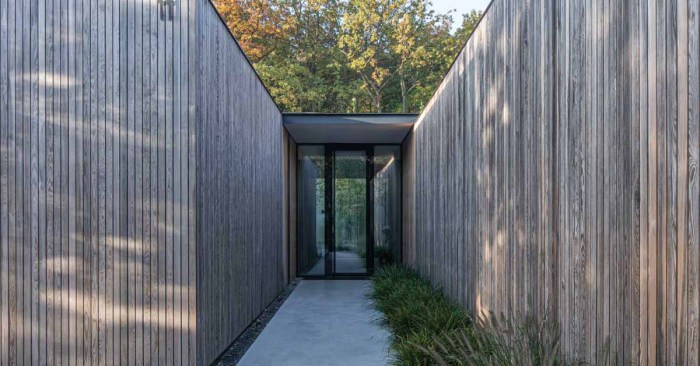
Planning & Preparation for Vertical Wood Siding Installation
Source: whatisvinyl.com
Installing vertical wood siding can dramatically improve your home’s curb appeal and add value. Proper planning and preparation are crucial for a successful and long-lasting installation. This section details the necessary steps to ensure a smooth process.
Tools and Materials for a 100 sq ft Project
Accurate material estimation is key to avoid costly delays. For a 100 sq ft area, these quantities are approximate and may need adjustment based on specific siding profile and waste.
- Wood Siding: Approximately 110 sq ft (to account for waste and cuts). This assumes standard 8-foot lengths. You’ll need to adjust based on your chosen siding width.
- Sheathing (if needed): Enough to cover any areas requiring replacement or additional sheathing. Assess the existing wall condition before purchase.
- Flashing: Use enough to cover all window and door perimeters, as well as any other potential water entry points.
- Caulk and sealant: A high-quality exterior-grade caulk is needed to seal gaps and joints. A tube of caulk for every 20 sq ft would be a reasonable estimate.
- Nails or screws: Galvanized nails or exterior-grade screws appropriate for your siding material. Approximately 500 nails/screws.
- Tools: Measuring tape, level, chalk line, circular saw or miter saw, hammer or drill, safety glasses, work gloves, pry bar, utility knife.
Exterior Wall Surface Preparation Checklist
Thorough preparation of the wall surface is paramount to a successful siding installation. Neglecting this step can lead to issues down the line.
- Inspect the existing wall: Check for any damaged areas, rot, or insect infestation. Repair or replace any compromised sections of sheathing or framing.
- Clean the surface: Remove all loose paint, dirt, debris, and any other contaminants using a wire brush, scraper, and pressure washer (if appropriate). Allow the wall to completely dry before proceeding.
- Repair any damage: Fill any holes or cracks with exterior-grade wood filler or patching compound. Allow ample drying time before sanding smooth.
- Prime (if necessary): Prime bare wood or repaired areas with a high-quality exterior-grade primer to ensure proper adhesion of the siding and to prevent rot.
- Install sheathing (if needed): If the existing sheathing is damaged or inadequate, install new sheathing, ensuring proper alignment and fastening.
- Install building paper or housewrap: This acts as a water barrier, protecting the wall from moisture penetration. Overlap seams and seal them with tape.
Vertical Wood Siding Profiles
Different siding profiles offer varying aesthetic and performance characteristics. Consider your budget and desired look when making your selection.
| Material | Profile | Pros | Cons |
|---|---|---|---|
| Cedar | Bevel | Classic look, naturally resistant to rot and insects | Higher cost, requires regular maintenance |
| Redwood | Channel | Durable, weather-resistant, attractive grain patterns | Expensive, can be prone to warping if not properly dried |
| Pine | Shiplap | Affordable, readily available, easy to work with | Less durable than cedar or redwood, requires more maintenance |
| Engineered Wood | Board and Batten | Durable, moisture resistant, consistent quality | May not have the same natural beauty as solid wood |
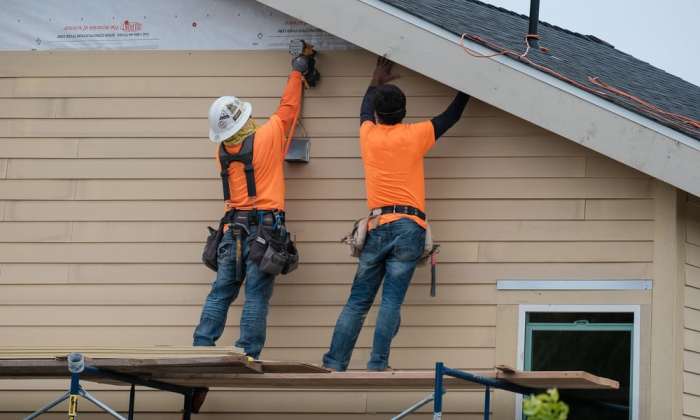
Installation Methods and Techniques
Installing vertical wood siding involves several key steps and decisions, impacting both the final look and the longevity of your project. Choosing the right fastening method and carefully executing the installation around features like windows and doors is crucial for a professional finish.
Fastening Methods for Vertical Wood Siding
Different fastening methods offer varying levels of hold and aesthetic appeal. Nails, screws, and staples each have their pros and cons, and the best choice depends on factors such as the type of siding, the climate, and your personal preference.
- Nailing: This is a common and relatively quick method. Use galvanized nails, slightly longer than the siding thickness, to ensure sufficient penetration into the sheathing. Nail placement is critical; aim for the center of each siding piece to prevent splitting and ensure even spacing. Pre-drilling pilot holes is recommended for hardwoods to avoid splitting.
- Screwing: Screws offer superior holding power, particularly in areas prone to high winds or movement. Use exterior-grade screws, slightly longer than the siding thickness, and countersink them slightly below the surface for a flush finish. Pre-drilling pilot holes is essential to prevent wood splitting. This method allows for easier removal and adjustment if needed.
- Stapling: Stapling is faster than nailing but generally less secure, making it suitable only for thinner siding or less exposed areas. Use heavy-duty galvanized staples designed for exterior use. Ensure the staples penetrate deeply enough for a secure hold. This method is not as aesthetically pleasing as nailing or screwing.
Installing Starter Strips and J-Channels
Starter strips and J-channels provide a clean, straight edge for the first course of siding and a neat finish at corners and around openings. They also ensure consistent spacing and alignment throughout the installation.
- Installing the Starter Strip: Begin by installing a level starter strip along the bottom edge of the wall. This strip provides a straight and even base for the first row of siding. Use appropriate fasteners (nails or screws) to secure it to the sheathing, ensuring it’s perfectly level. Imagine a perfectly straight horizontal line at the base of your wall, and this is your guide.
- Installing J-Channels: J-channels are used at corners and around windows and doors to provide a neat, finished look. Measure and cut the J-channel to the required length. Ensure the channel is perfectly aligned and plumb before fastening it to the sheathing. Picture a crisp, 90-degree angle, that’s what the J-channel will create. The lip of the J-channel will create a neat edge and help prevent moisture penetration.
Cutting and Fitting Wood Siding Around Windows and Doors
Precise measurements and careful cutting are essential to ensure a clean, professional-looking finish around windows and doors. Improper cuts can lead to gaps and potential water infiltration.
Begin by accurately measuring the opening. Carefully transfer these measurements to the wood siding, allowing for the necessary overlap and ensuring proper fit. Use a sharp saw to make clean, precise cuts. Test fit the pieces before fastening to ensure a perfect fit. Consider using a coping saw for intricate cuts around curved edges. For example, if you’re working with a window, imagine carefully measuring the distance from the top of the window to the bottom, and the width from side to side, and transferring those precise measurements to your siding pieces.
Remember to always allow for expansion and contraction of the wood due to changes in temperature and humidity. Avoid using excessive force when fitting the pieces. Small gaps can be filled with appropriate caulk after installation to ensure a watertight seal.
Dealing with Challenges and Special Considerations
Source: storables.com
Installing vertical wood siding can present unique challenges, especially when dealing with less-than-perfect walls or unpredictable weather. Understanding these challenges and implementing preventative measures will ensure a long-lasting and aesthetically pleasing result. This section covers moisture management, addressing installation difficulties, and troubleshooting common problems.
Moisture Management and Rot Prevention
Wood is a natural material susceptible to moisture damage. Proper sealing and ventilation are crucial to prevent rot and extend the life of your siding. Begin by using pressure-treated lumber, which is specifically designed to resist rot and insect infestation. All cuts and exposed ends should be treated with a high-quality wood preservative before installation. Furthermore, ensure adequate ventilation behind the siding to allow air circulation and prevent moisture buildup. This can be achieved by leaving a small gap between the siding and the house wrap, and by using appropriate flashing around windows and doors to prevent water penetration. Properly sealed joints, using exterior-grade caulk and appropriate flashing materials, are also vital to prevent water ingress. Regularly inspect the siding for any signs of moisture damage, such as discoloration or swelling, and address any issues promptly.
Addressing Uneven Walls and Difficult-to-Reach Areas
Uneven walls are a common problem. Before installation, carefully assess the wall surface for any significant irregularities. For minor imperfections, you can shim out the framing to create a more even surface. For more severe unevenness, consider using furring strips to create a consistent plane for the siding to attach to. Difficult-to-reach areas, such as corners or around windows and doors, require extra care and precision. Use appropriate tools, such as a miter saw for accurate cuts, and take your time to ensure a tight, weatherproof fit. Consider using shorter pieces of siding in these areas to simplify installation and minimize waste. Pre-drilling pilot holes before driving in fasteners will help prevent splitting the wood.
Troubleshooting Common Installation Problems, Installing vertical wood siding
Addressing problems as they arise is crucial for a successful installation. Ignoring minor issues can lead to more significant problems later. Here’s a guide to common problems and their solutions:
- Misaligned Siding: Carefully check alignment before securing each piece. Use a level and straight edge to ensure vertical alignment. If misalignment occurs, carefully remove the affected piece and reinstall it correctly.
- Gaps Between Siding: Gaps indicate improper spacing or cuts. Ensure consistent spacing using spacers throughout the installation process. Recheck your measurements and cuts if gaps appear. Caulk gaps that are too small to correct by removing and reinstalling siding.
- Damaged Siding: Inspect each piece before installation. Replace any damaged or warped pieces. Handle siding carefully to avoid further damage during installation.
- Fastener Issues: Using the correct fasteners is critical. Use galvanized or stainless steel nails or screws to prevent rust. Ensure fasteners are driven straight and flush to prevent damage to the siding.
- Water Penetration: Inspect all seams and joints for proper sealing. Use exterior-grade caulk to seal any gaps or cracks. Install flashing correctly around windows and doors to prevent water penetration.
Finishing Touches and Maintenance

Source: thinkwood.com
You’ve successfully installed your vertical wood siding! Now it’s time to put the finishing touches on your project and learn how to keep your siding looking its best for years to come. Proper caulking and regular maintenance are key to ensuring a long lifespan for your investment.
Caulking and Sealant Application
Applying caulk and sealant is crucial for creating a watertight barrier around windows, doors, and other openings in your siding. This prevents water from seeping behind the siding, leading to rot, mold, and other costly damage. Use a high-quality, exterior-grade caulk that is paintable and flexible enough to accommodate movement in the wood.
Before applying caulk, ensure the surfaces are clean and dry. Use a caulking gun to apply a smooth, continuous bead of caulk into the gaps. Tool the caulk immediately with a wet finger or a caulking tool to create a neat, weather-resistant seal. Pay close attention to corners and intersections where water is most likely to penetrate.
Image Description: A close-up image showing a person carefully applying a bead of white caulk to the gap between a window frame and vertical wood siding using a caulking gun. The caulk is being smoothed out with a wet finger, creating a clean and even seal. The siding is a light brown color, and the window frame is white.
Image Description: A wider shot depicting the completed caulking around a window. The caulk is neatly applied, creating a continuous seal between the window frame and the wood siding. The overall appearance is clean and professional.
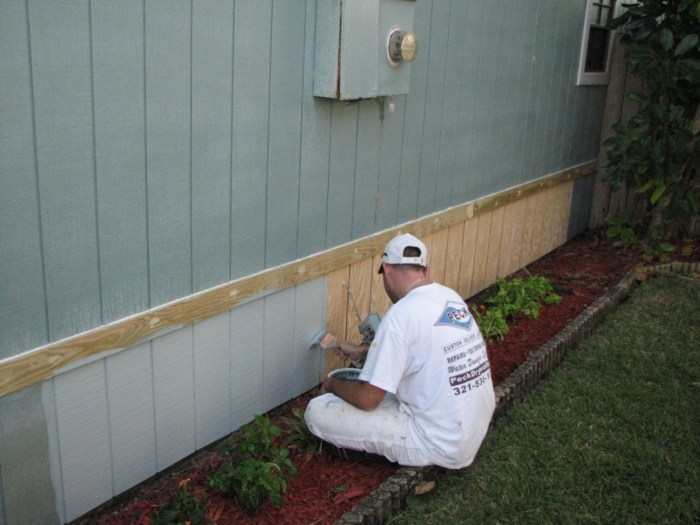
Wood Siding Maintenance
Regular maintenance is essential to protect your investment and keep your siding looking its best. This involves a combination of cleaning, painting, and repair. Neglecting these tasks can lead to premature deterioration and costly repairs down the line.
Cleaning should be done at least once a year, removing dirt, debris, and cobwebs. A pressure washer can be effective, but use a low pressure setting to avoid damaging the wood. For stubborn stains, use a mild detergent solution. Painting or staining every 3-5 years, depending on the type of finish and exposure to the elements, will protect the wood from the sun’s UV rays and moisture. Regular inspections will help you identify and address minor repairs promptly, preventing them from becoming major problems. Look for loose boards, damaged areas, or signs of insect infestation.
Maintenance Schedule
| Task | Frequency |
|---|---|
| Clean siding (pressure wash or scrub) | Annually |
| Inspect for damage and loose boards | Semi-annually |
| Repair damaged areas (replace boards, etc.) | As needed |
| Repaint or restain | Every 3-5 years |
Closing Notes: Installing Vertical Wood Siding
Source: architecture-collection.com
Transforming your home’s exterior with vertical wood siding is a rewarding project that enhances both its beauty and value. By following the steps outlined in this guide, paying attention to detail, and prioritizing proper preparation and maintenance, you can achieve a professional-looking result that will stand the test of time. Remember, patience and attention to detail are key to a successful installation. So, gather your tools, choose your siding, and get ready to enjoy the satisfaction of a job well done!
Commonly Asked Questions
What type of wood is best for vertical siding?
Cedar, redwood, and treated pine are popular choices for their durability and weather resistance. Consider your budget and climate when making your selection.
How much does vertical wood siding cost?
Costs vary greatly depending on the type of wood, your location, and the size of your project. Get multiple quotes from suppliers for accurate pricing.
Can I install vertical siding over existing siding?
Sometimes, but it depends on the condition of the existing siding and the type of new siding you’re installing. It’s often best to remove old siding for a better, longer-lasting result. Consult a professional if unsure.
How long does vertical wood siding last?
With proper installation and maintenance, vertical wood siding can last for 20-30 years or more. Regular cleaning and repainting will extend its lifespan.
Do I need a permit to install vertical wood siding?
Check with your local building department. Permits are often required for exterior renovations of this type.
Comments are closed.